


Create your own personalized table of training percentages and loads.
Training Load Table
Calculate your training loads according to your 1RM
| 1RM (kg) | FORCE | HYPERTROPHY | ENDURANCE | ||||||||
|---|---|---|---|---|---|---|---|---|---|---|---|
| 100% | 95% | 90% | 85% | 80% | 75% | 70% | 65% | 60% | 55% | 50% | |
| 5 | 5 | 5 | 4.5 | 4.5 | 4 | 4 | 3.5 | 3.5 | 3 | 3 | 2.5 |
| 10 | 10 | 9.5 | 9 | 8.5 | 8 | 7.5 | 7 | 6.5 | 6 | 5.5 | 5 |
| 15 | 15 | 14.5 | 13.5 | 13 | 12 | 11.5 | 10.5 | 10 | 9 | 8.5 | 7.5 |
| 20 | 20 | 19 | 18 | 17 | 16 | 15 | 14 | 13 | 12 | 11 | 10 |
| 25 | 25 | 24 | 22.5 | 21.5 | 20 | 19 | 17.5 | 16.5 | 15 | 14 | 12.5 |
| 30 | 30 | 28.5 | 27 | 25.5 | 24 | 22.5 | 21 | 19.5 | 18 | 16.5 | 15 |
| 35 | 35 | 33.5 | 31.5 | 30 | 28 | 26.5 | 24.5 | 23 | 21 | 19.5 | 17.5 |
| 40 | 40 | 38 | 36 | 34 | 32 | 30 | 28 | 26 | 24 | 22 | 20 |
| 45 | 45 | 43 | 40.5 | 38.5 | 36 | 34 | 31.5 | 29.5 | 27 | 25 | 22.5 |
| 50 | 50 | 47.5 | 45 | 42.5 | 40 | 37.5 | 35 | 32.5 | 30 | 27.5 | 25 |
| 55 | 55 | 52.5 | 49.5 | 47 | 44 | 41.5 | 38.5 | 36 | 33 | 30.5 | 27.5 |
| 60 | 60 | 57 | 54 | 51 | 48 | 45 | 42 | 39 | 36 | 33 | 30 |
| 65 | 65 | 62 | 58.5 | 55.5 | 52 | 49 | 45.5 | 42.5 | 39 | 36 | 32.5 |
| 70 | 70 | 66.5 | 63 | 59.5 | 56 | 52.5 | 49 | 45.5 | 42 | 38.5 | 35 |
| 75 | 75 | 71.5 | 67.5 | 64 | 60 | 56.5 | 52.5 | 49 | 45 | 41.5 | 37.5 |
| 80 | 80 | 76 | 72 | 68 | 64 | 60 | 56 | 52 | 48 | 44 | 40 |
| 85 | 85 | 81 | 76.5 | 72.5 | 68 | 64 | 59.5 | 55.5 | 51 | 47 | 42.5 |
| 90 | 90 | 85.5 | 81 | 76.5 | 72 | 67.5 | 63 | 58.5 | 54 | 49.5 | 45 |
| 95 | 95 | 90.5 | 85.5 | 81 | 76 | 71.5 | 66.5 | 62 | 57 | 52.5 | 47.5 |
| 100 | 100 | 95 | 90 | 85 | 80 | 75 | 70 | 65 | 60 | 55 | 50 |
| 105 | 105 | 100 | 94.5 | 89.5 | 84 | 79 | 73.5 | 68.5 | 63 | 58 | 52.5 |
| 110 | 110 | 104.5 | 99 | 93.5 | 88 | 82.5 | 77 | 71.5 | 66 | 60.5 | 55 |
| 115 | 115 | 109.5 | 103.5 | 98 | 92 | 86.5 | 80.5 | 75 | 69 | 63.5 | 57.5 |
| 120 | 120 | 114 | 108 | 102 | 96 | 90 | 84 | 78 | 72 | 66 | 60 |
| 125 | 125 | 119 | 112.5 | 106.5 | 100 | 94 | 87.5 | 81.5 | 75 | 69 | 62.5 |
| 130 | 130 | 123.5 | 117 | 110.5 | 104 | 97.5 | 91 | 84.5 | 78 | 71.5 | 65 |
| 135 | 135 | 128.5 | 121.5 | 115 | 108 | 101.5 | 94.5 | 88 | 81 | 74.5 | 67.5 |
| 140 | 140 | 133 | 126 | 119 | 112 | 105 | 98 | 91 | 84 | 77 | 70 |
| 145 | 145 | 138 | 130.5 | 123.5 | 116 | 109 | 101.5 | 94.5 | 87 | 80 | 72.5 |
| 150 | 150 | 142.5 | 135 | 127.5 | 120 | 112.5 | 105 | 97.5 | 90 | 82.5 | 75 |
| 155 | 155 | 147.5 | 139.5 | 132 | 124 | 116.5 | 108.5 | 101 | 93 | 85.5 | 77.5 |
| 160 | 160 | 152 | 144 | 136 | 128 | 120 | 112 | 104 | 96 | 88 | 80 |
| 165 | 165 | 157 | 148.5 | 140.5 | 132 | 124 | 115.5 | 107.5 | 99 | 91 | 82.5 |
| 170 | 170 | 161.5 | 153 | 144.5 | 136 | 127.5 | 119 | 110.5 | 102 | 93.5 | 85 |
| 175 | 175 | 166.5 | 157.5 | 149 | 140 | 131.5 | 122.5 | 114 | 105 | 96.5 | 87.5 |
| 180 | 180 | 171 | 162 | 153 | 144 | 135 | 126 | 117 | 108 | 99 | 90 |
| 185 | 185 | 176 | 166.5 | 157.5 | 148 | 139 | 129.5 | 120.5 | 111 | 102 | 92.5 |
| 190 | 190 | 180.5 | 171 | 161.5 | 152 | 142.5 | 133 | 123.5 | 114 | 104.5 | 95 |
| 195 | 195 | 185.5 | 175.5 | 166 | 156 | 146.5 | 136.5 | 127 | 117 | 107.5 | 97.5 |
| 200 | 200 | 190 | 180 | 170 | 160 | 150 | 140 | 130 | 120 | 110 | 100 |
The load chart is a very useful tool in bodybuilding, enabling you to determine precisely the percentages of your maximum load for each training objective.
This calculation method transforms your maximum repetition (1RM ) into a practical correspondence table, making it easier to plan your bodybuilding sessions. Unlike the traditional 1RM calculation, which requires complex extrapolation, this load chart offers a global view of all possible training loads.
The table uses approximate correspondences commonly accepted in bodybuilding circles, but which can vary significantly depending on the individual, the exercise and the training context.
Each load percentage corresponds to a specific effort zone: maximum strength (85-100%), muscular hypertrophy (65-85%), and muscular endurance (50-65%).
This theoretical basis enables exercisers to choose their weights precisely according to their objectives, and to adapt the number of repetitions and sets according to their training.
Practical use of the tool
First, set your maximum and minimum total weight according to your current level.
An intermediate athlete will be able to define a wider range than a high-level athlete. The traditional bodybuilding shepherd's chart offers fixed intervals, but our tool adapts to your personal fitness level.
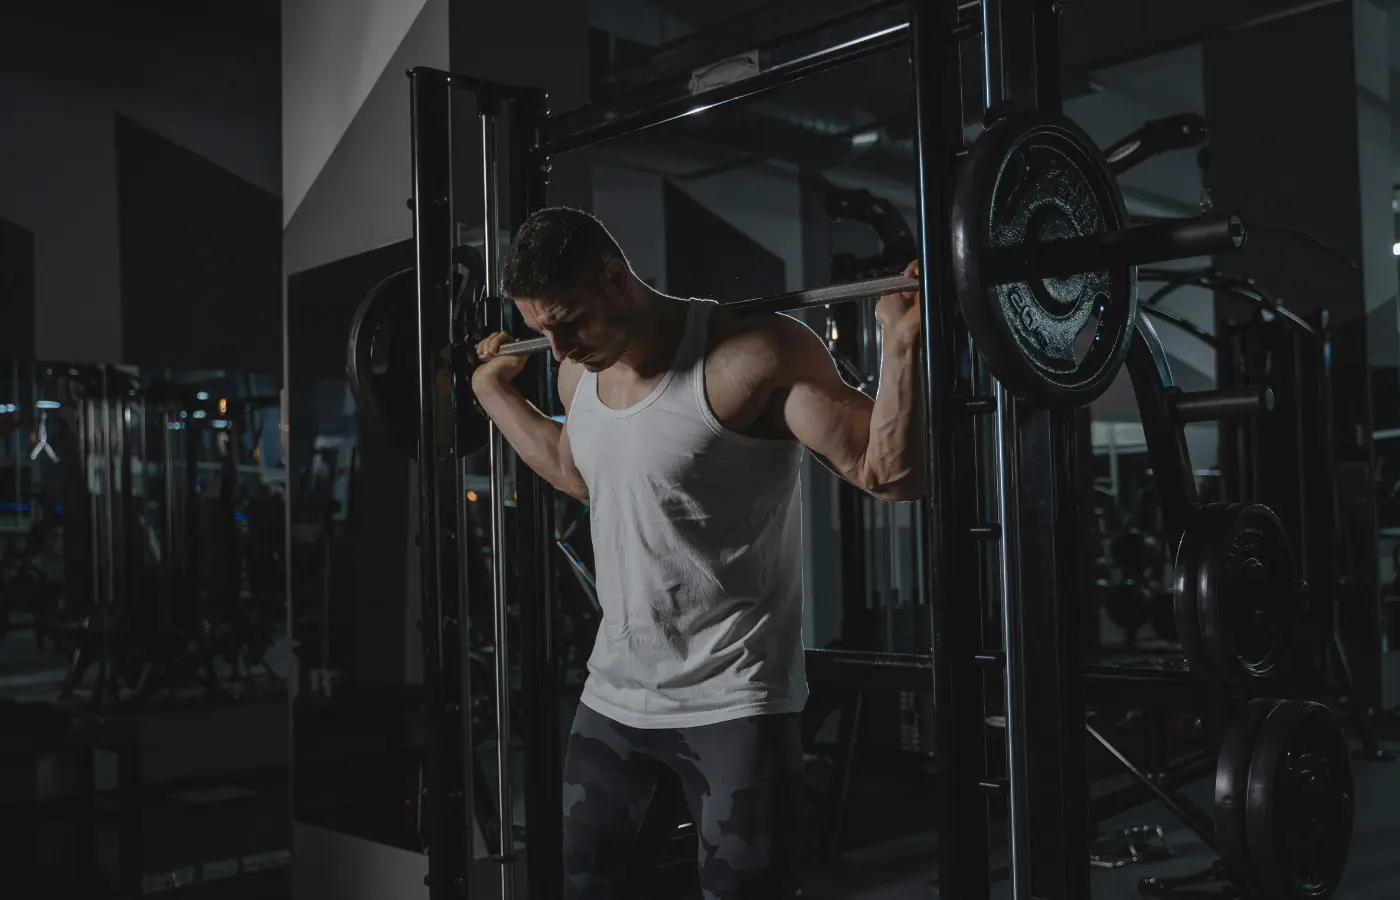
The method of use follows a progressive technique. Identify your exercise (squat, bench press, deadlift), then consult the line corresponding to your estimated 1RM.
Each column indicates the load to be used according to your objective: hypertrophy requires 70-80% of your maximum load, while strength work requires 85-95%.
The major advantage lies in the ease with which you can plan your workouts. For example, when you're building muscle, you can warm up with an initial series at 50% of your maximum lifting load, then progress to 75% for hypertrophy, and finally 90% to test your strength. This progressive approach favours optimal progressive overload while limiting the risk of injury.
To optimize your recovery between sets, consult our guide to rest times between sets and find out how long your muscles need to recover.
Limits and considerations
Despite its accuracy, the table has certain limitations. Individual variations influence the correspondence between percentages and repetitions.
- A large exerciser with significant muscle mass may move different relative loads from a lighter athlete. In addition, recovery, nutrition and stress affect the ability to lift as predicted.
- The exercise chosen also influences precision. Compound movements such as the squat offer a better match than isolation exercises.
- Execution technique also varies according to intensity: maintaining 95% perfect form requires maximum concentration and, ideally, the supervision of an experienced coach.
This chart is a guide, not an absolute rule. Always adapt according to how you feel, your progress and your specific objectives. The most important thing is to ensure consistency in your sporting practice and respect for your body, so that your physical activity lasts and is effective.
Further information
This shepherd's chart approach fits in perfectly with a structured mass gain strategy, the duration of which varies according to your objectives.
For more specific advice, check out our guides to women's weight gain and the best weight loss exercises.
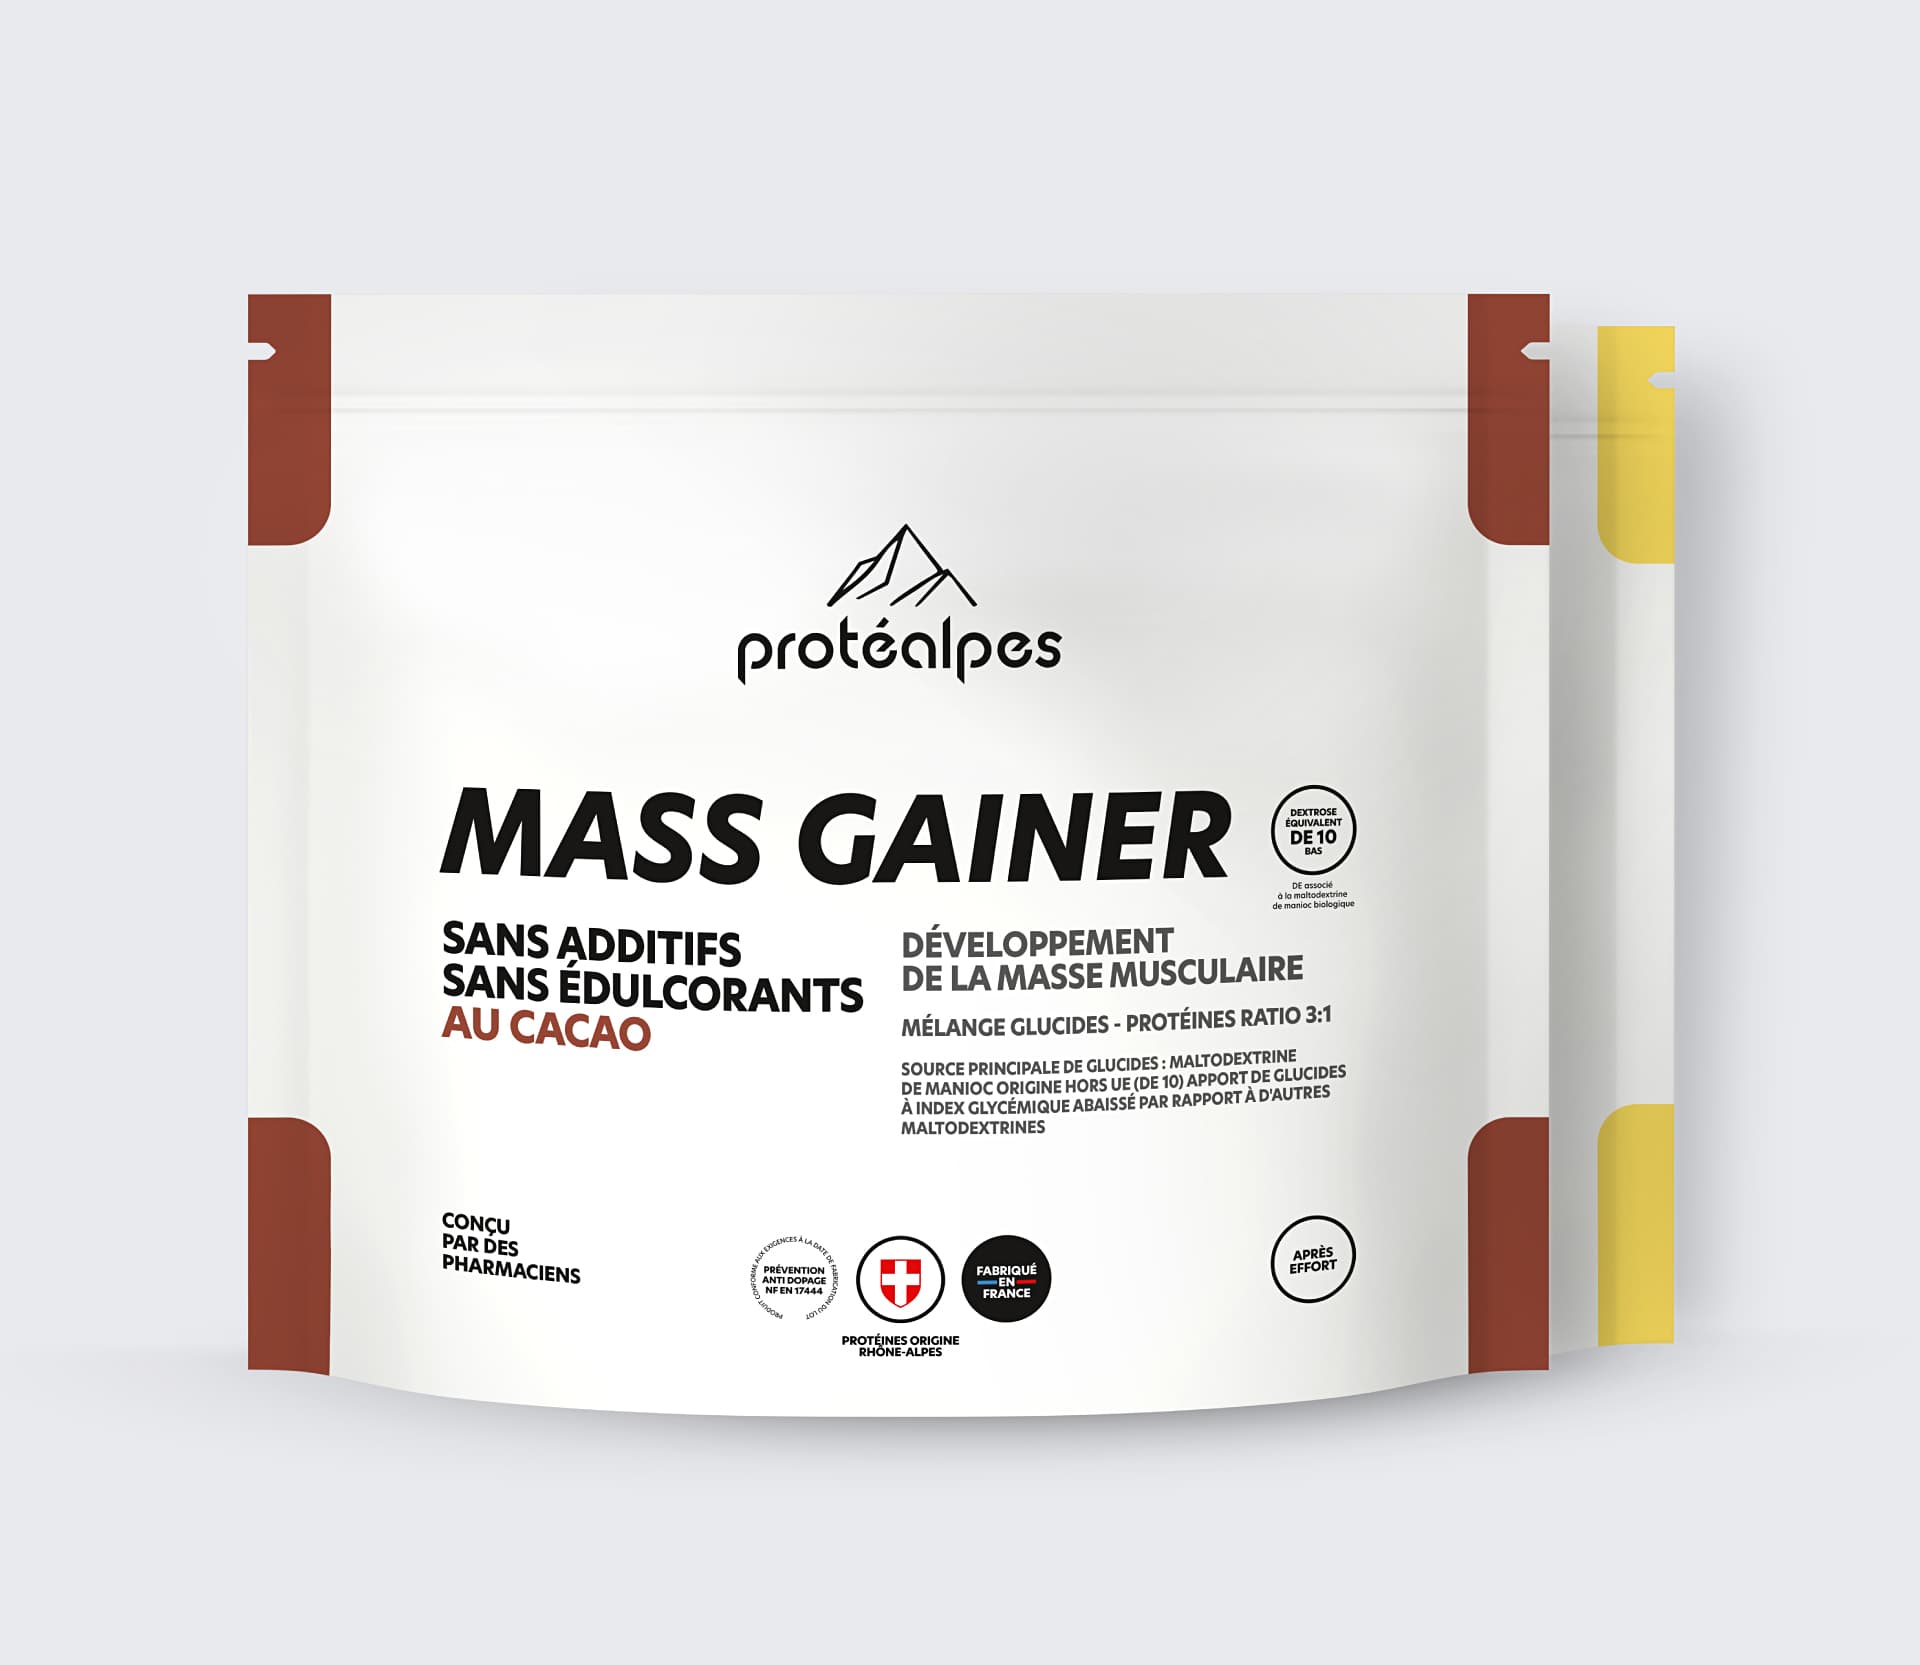
Effective use of this table is accompanied by an adapted nutritional approach. Ectomorphs, for example, will particularly benefit from a specialized gainer to support their gains.
Mass gainer 2 kg
Ideal for weight gain
- Doping substance-free
- No additives, no sweeteners
- Manufactured by Protéalpes in Albertville, France
- 380 kcal and 23 g of protein per serving
Whether you're leaning or building mass, managing fatigue intelligently remains crucial to maintaining optimum performance.


